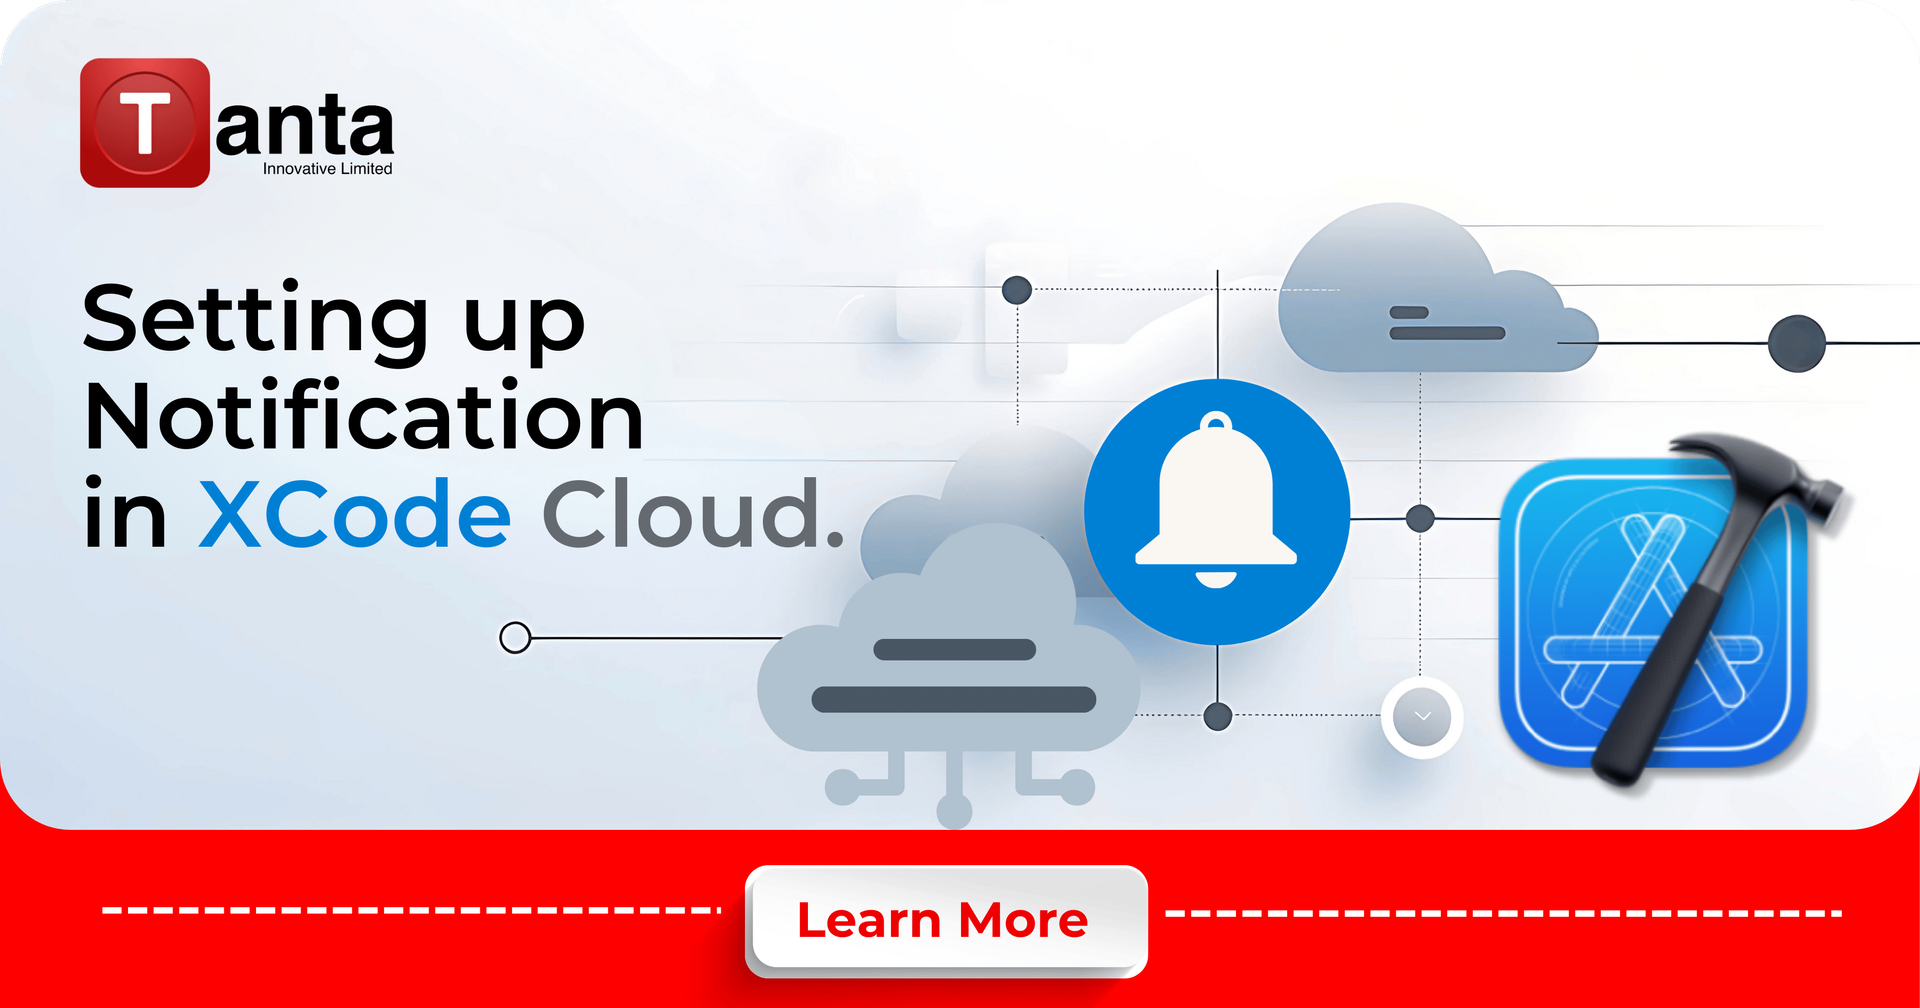
Setting Up Notifications in Xcode Cloud
Jermaine Daniel
· 3 min read min read
0
0
Introduction
In the fast-paced world of iOS development, staying informed about your build statuses is crucial. Xcode Cloud offers a robust notification system to keep you updated on your build successes and failures. This guide will walk you through the process of setting up notifications in Xcode Cloud, ensuring you're always in the loop with your project's CI/CD pipeline.
Prerequisites
Before we begin, make sure you have:
- An active Xcode Cloud workflow set up for your project
- Necessary permissions to modify Xcode Cloud settings
Accessing Notification Settings
- Open your Xcode project
- Click on the "Report" navigator in the left sidebar
- Ensure "Cloud" is selected at the bottom of the navigator
- Click on the three dots (…) in the bottom left corner
- Select "Manage Workflows"
Configuring Notifications
Step 1: Choose Your Workflow
Select the workflow for which you want to receive notifications. This could be your main build workflow, test workflow, or any custom workflow you've set up.
Step 2: Navigate to Post Actions
In the workflow editor, scroll down to the "Post Actions" section. This is where we'll set up our notifications.
Step 3: Add Notification Action
- Click the "Add" button in the Post Actions section
- Select "Notify" from the dropdown menu
Step 4: Configure Notification Triggers
You can set up notifications for different scenarios:
For Successful Builds:
- All Successes: Get notified for every successful build
- Only Fixes: Get notified only when a previously failing build succeeds
- Don't Notify: No notifications for successful builds
For Failed Builds:
- All Failures: Get notified for every failed build
- Only Breaks: Get notified only when a previously successful build fails
- Don't Notify: No notifications for failed builds
Step 5: Set Up Email Notifications
- Click the "Add" button under the notification settings
- Select "Email"
- Enter the email address where you want to receive notifications
Step 6: Set Up Slack Notifications (Optional)
Xcode Cloud also supports Slack notifications:
- Click the "Add" button under the notification settings
- Select "Slack"
- Click "Connect" to link your Slack account
- Follow the prompts to install the Xcode Cloud app in your Slack workspace
- Grant Xcode Cloud access to your Slack account
- Choose the Slack channel where you want to receive notifications
Best Practices for Notifications
- Be Selective: While it's tempting to get notified for everything, too many notifications can lead to alert fatigue. Choose the most critical events for notifications.
- Use Different Channels: Consider using email for critical notifications and Slack for general updates. This helps in prioritizing your responses.
- Regular Review: Periodically review your notification settings to ensure they still align with your team's needs and workflow.
- Team Coordination: If working in a team, coordinate notification settings to ensure critical information reaches the right people without overwhelming everyone.
Conclusion
Setting up notifications in Xcode Cloud is a simple yet powerful way to stay on top of your development process. By following this guide, you've learned how to configure email and Slack notifications for your build workflows.
Remember, the goal of notifications is to keep you informed without becoming a distraction. Tailor your settings to find the right balance for you and your team.
As you continue to use Xcode Cloud, don't hesitate to adjust your notification preferences to best suit your evolving needs. Happy coding, and may all your build notifications be green!

IOS developer
More from Jermaine Daniel

Enhancing SwiftUI Previews for UIKit Components
Swift...
Mastering MusicKit Integration in iOS Applications
Learn how to integrate Apple Music features into your iOS app using MusicKit. Access a vast music library, enable seamle...
Introducing Swift 6 with Enhanced Concurrency and Performance
Swift 6 is here with groundbreaking updates, from improved concurrency and error handling to C++ interoperability and em...
Leveraging Free Firebase Analytics for Mobile App Business Decisions
Review where your new users are coming from (e.g., organic search, ads, referrals). Compare the number of new users fro...
Related Articles
Discover more insights and stories from our collection of articles
Integrating Spotify in Android Apps: Web API + SDK Tutorial 2025
Learn how to integrate Spotify's Web API and SDK into your Android app to add music streaming, user data, and playlist features—perfect for unique portfolio projects.
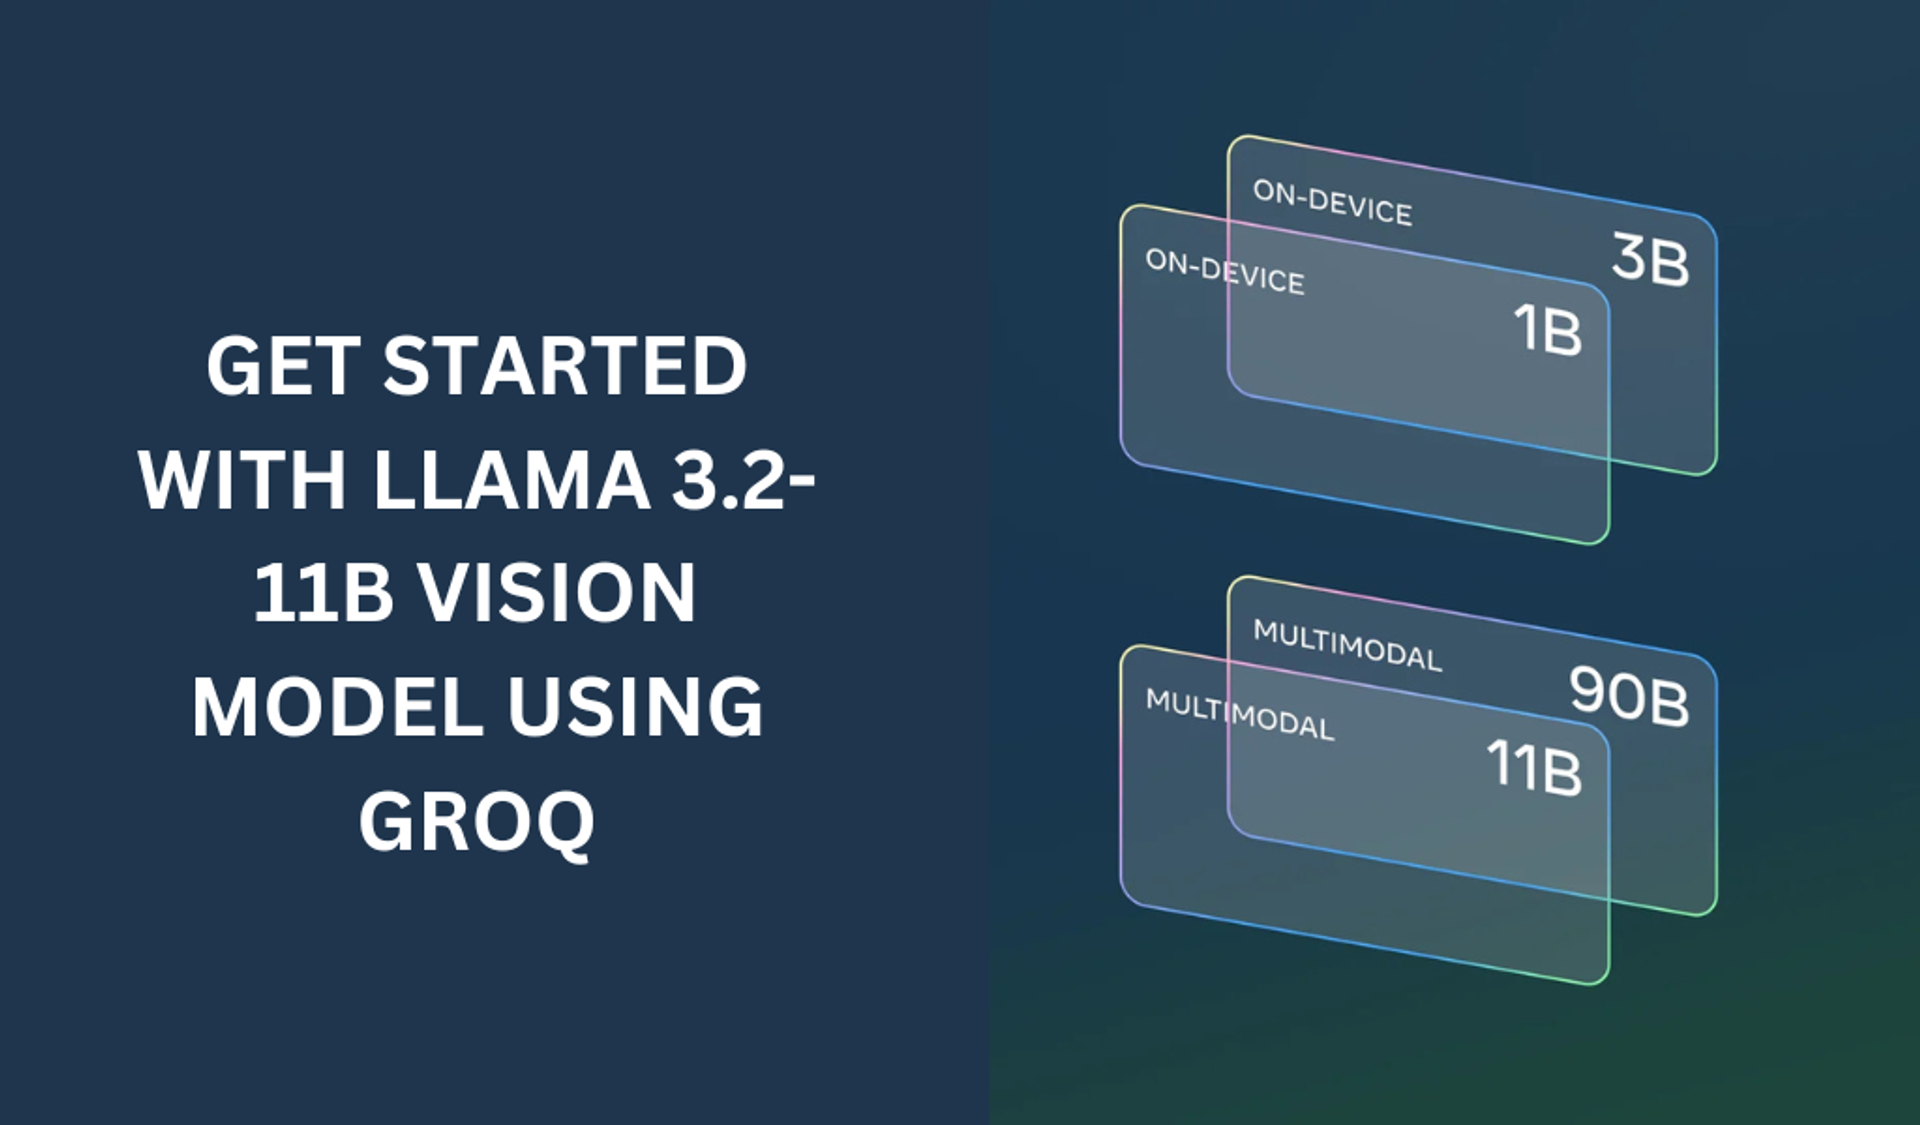
Getting started with the LLAMA 3.2-11B with groq
The LLAMA 3.2-11B model is a very powerful model that can perform both text and vision tasks.
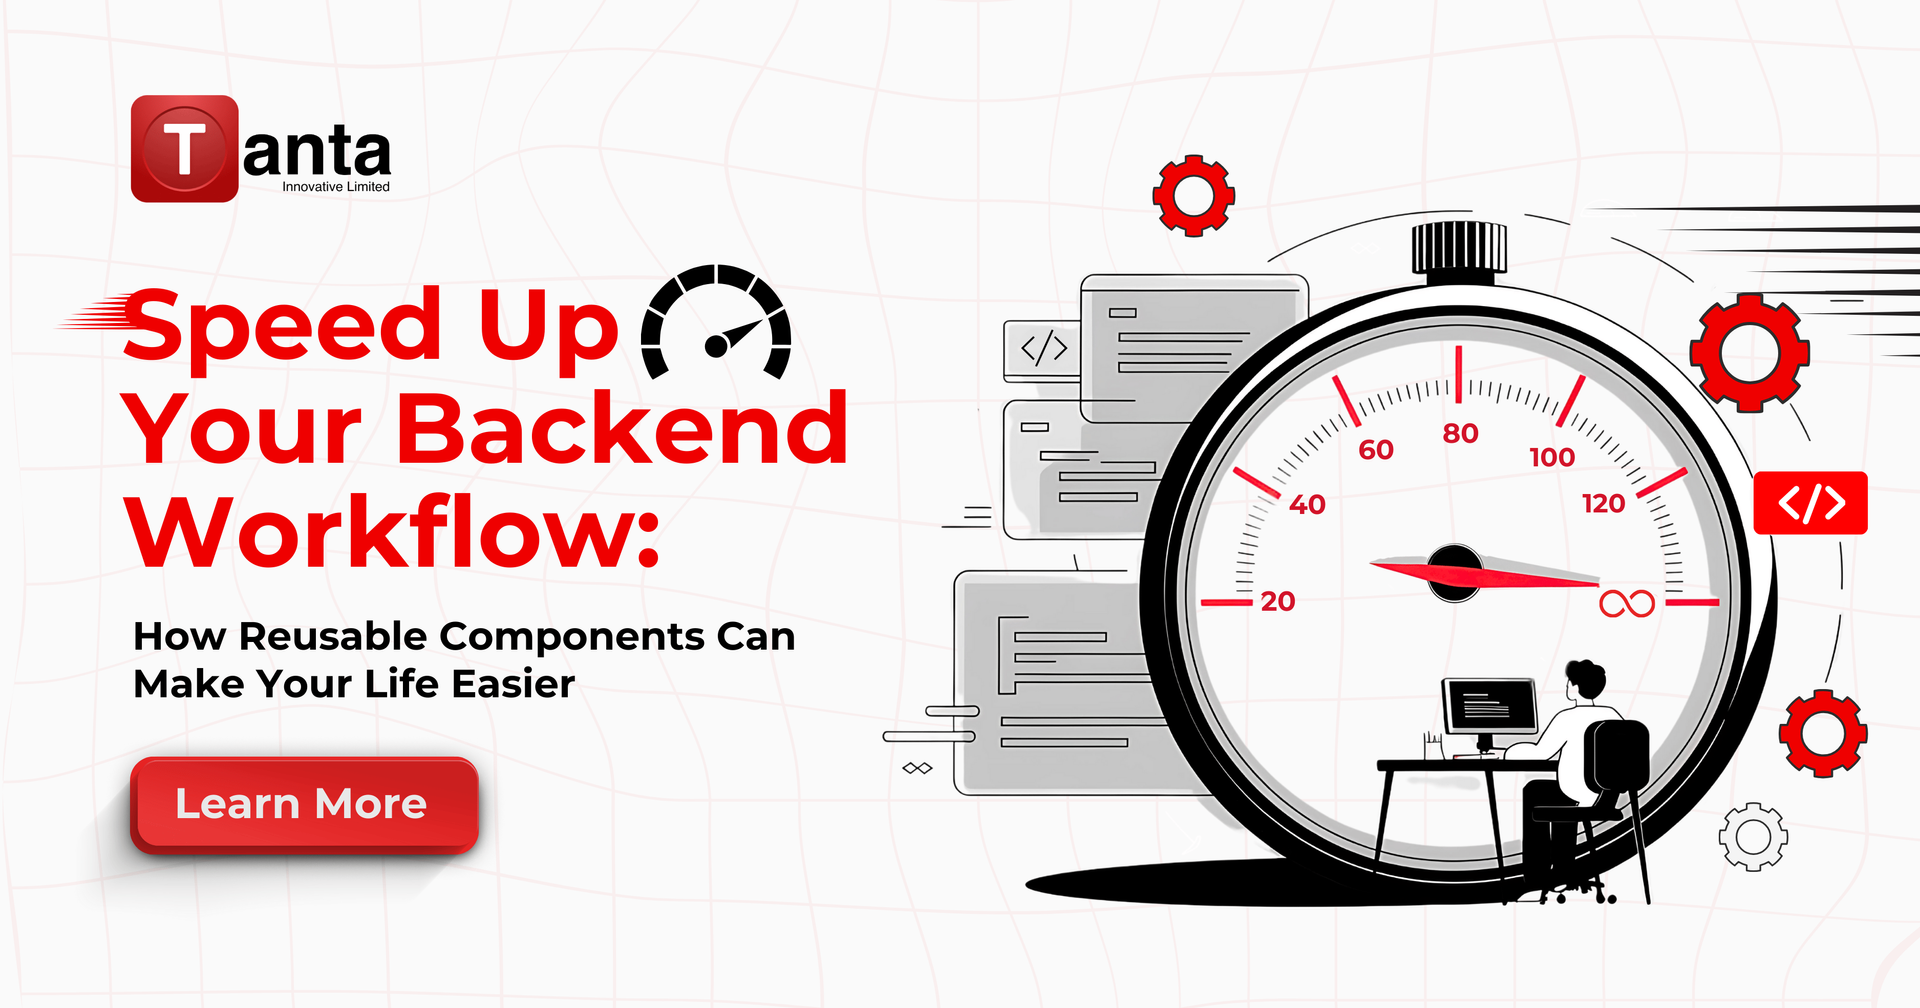
Streamline Your Backend Workflow with Reusable Components
Learn how backend developers can save time by creating reusable components for common tasks, streamlining project setups, improving consistency, and boosting productivity.